a room for family: part one

over a year and a half ago my friends, kira and dave, contacted me with some questions about renovating their family room.  one thing lead to another and before i knew it i had drawn a rough sketch and she loved it.  we got together a couple of times and discussed what her and her husband wanted for the space, colours, budget, etc.  this was such a fun project, mostly because it was my first time working and designing for someone else.  i learned so much through this process, like just because i like something doesn't mean a client will.  and always remember to check the paint can lids when dropping it off at a clients house, my winter car mats were nice covered in benjamin moore misted fern.

because this project lasted almost a year, planning, waiting, budgeting, deciding, shopping, designing,  etc, i thought i would break it into a few parts.  so for part one i though i'd share what we were working with.  their home is a bungalow and parts of it are still stuck in a 1970s/1980s renovation.  and although there are plans for a more extensive renovation of their kitchen, like blowing out a wall,  their family room was something that could be tackled and not break the bank.  it did mean hiring a contractor and electrician, but the rest could be done by kira, dave and myself.

here's a break down of the space and what they wanted for it:

- the room to have a natural/nature feeling and zero feeling of a log cabin
- functional storage
- greens and browns, no grey
- get rid of the horrible fake stone on the east wall (fireplace wall)
- add more light and a ceiling fan, gets hot in the summer because of large south facing windows
- add gas fire place, get rid of wood burning stove insert
- new furniture that is more them

not such a huge list.  the room is a good size and has an abundance of good light coming through the front south facing window.  down side was the lack of lighting when the sun goes down, in that there is none.  also, the giant "stone" wall.

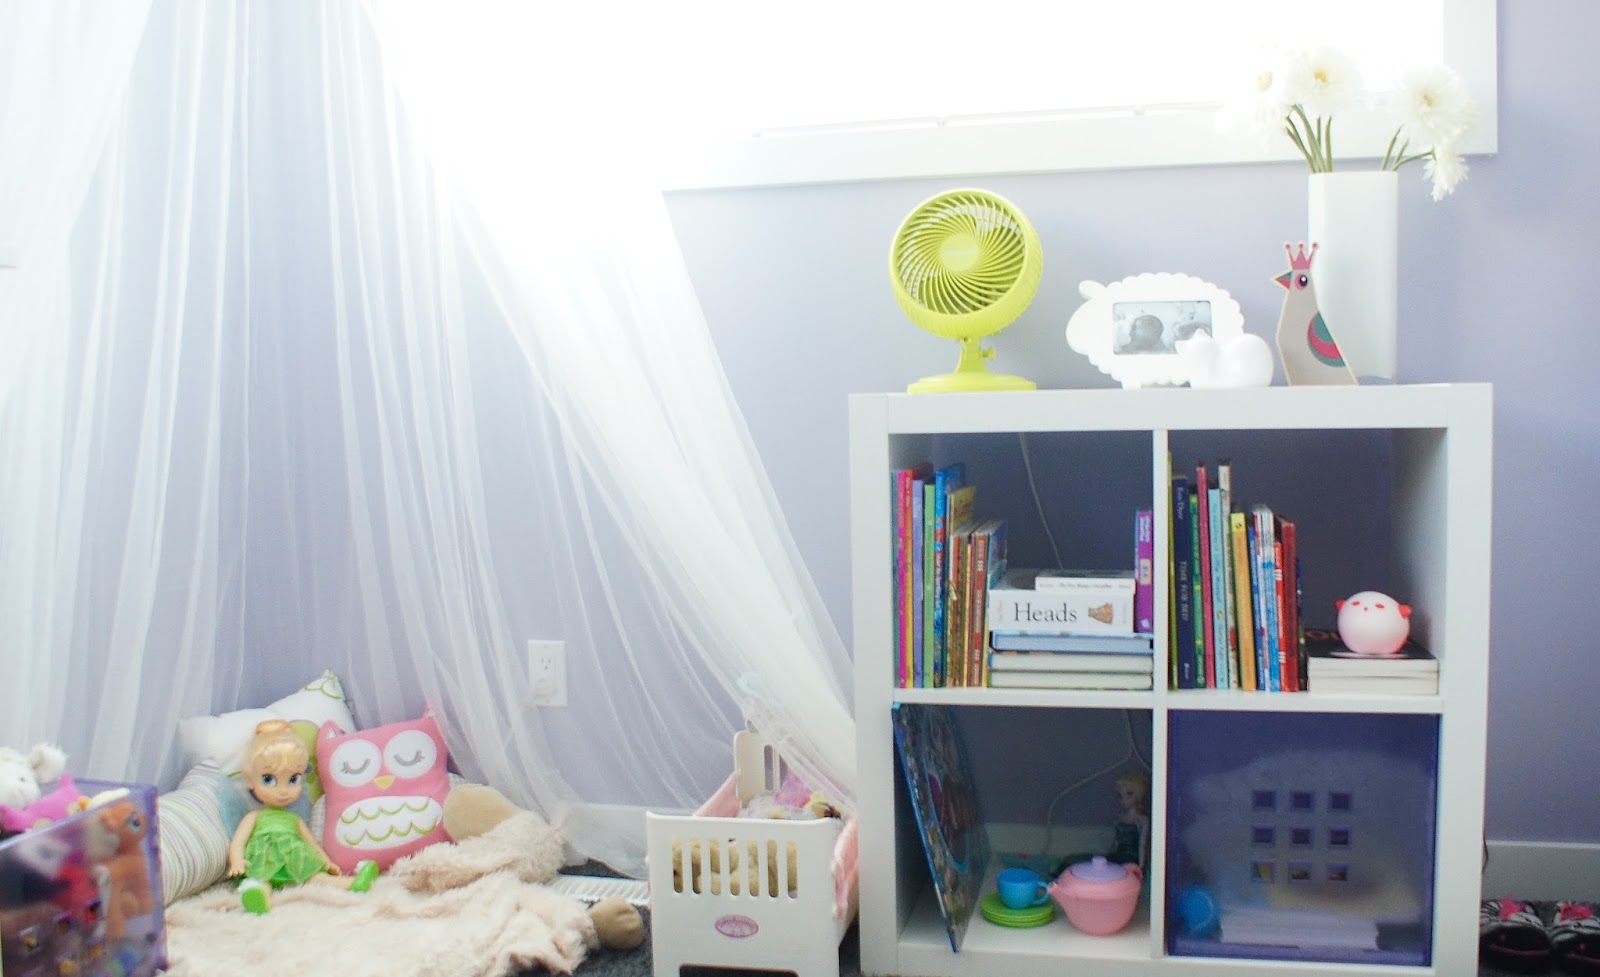
have a look for yourself.

kira and dave's family room before


stay tuned for part two: the design.


happy almost middle of the week folks.


a little big girl room

so i figured it was time to share a little bit of our home.  and to start i picked our daughter's room.  why?  because why the hell not?  i love it.  and most of all, so does she.  and with that ...

... the littlest mini human in our house isn't so little, as she frequently likes to inform us.  she's become our little big girl around here. which meant it was time to say good-bye to the last nursery we'll ever have and create a big girl bedroom.  i was both sad and happy at the same time to say good-bye to a crib.  it meant we were going to get more snuggles at bedtime and that bedtime was going to become a whole lot more difficult.  so freaking happy that she was not like her brother.  she was a rockstar and didn't get out of her bed once we made the switch.  and almost a year later, she's still the one who stays in her bed.  but back to the design.

i felt that it was important to bring averie on as a consultant on this particular project.  it is her bedroom after all.  her requests are as follows: butterflies, pink, purple, owls, ballerinas and a place for her babies to sleep.  all things important to a three year old.  butterflies were already covered because we had done a decal wall with a tree and butterflies when we first moved in.  it's like we already knew what she wanted.  her walls were purple, we just needed to add some pink, and a few owls with some ballerinas.

here's the plan i came up with.


averie didn't mind that there was a lack of ballerinas, she was more excited that there was a princess tent.  she talked about it for months.  the canopy tent in her mood board was from land of nod.  of course brining the mood board into reality brought a few changes.  that's what a love about design and decorating.  there's always room for change.


happy friday friends.


bound inspiration

recently i started collecting interior style, design and decorating books.  i got a copy of domino for christmas a few years ago and the obsession began.  the first step is admitting you have a problem right?  it started slowly at first, a design book here, a design book there.  now i have a few healthy stacks all around our bedroom.  it's usually what i pick up for my bedtime reading, even though i'm in the middle of reading two other books.  and although i've read each one of these books many ... many ... many times, with the exception of one, i always seem to find something interesting or new.  perhaps that's why i feel the need to collect more.  so i will have an endless supply of inspiration at my finger tips.  or ... i'm just slowly becoming a hoarder.

way back in 2011, when we decided to go through the process of building a house again we decided to consult some design reference material.  we had read somewhere or someone had told us that it was a good idea to do so when you were about to build a new house.  i always take good advice, except when i take bad advice.  so many of the ideas we used in our current home were a result of gathering inspiration from interior design books we signed out of the library.  perhaps this is where the obsession started? we began seeing the things we could do in our own home in a totally different way.  it didn't have to be the way the builder wanted to do it.  crazy i know.  the point is, i love being able to flip through my own little medium sized collection of books when i approach a client project or a space in my own home.  not to re-create the same space but to gather inspiration to create my own.

so .... based on all of that, here are a few of my a few of my favourite design reads from my not so little, and not so big, library.


thoughts on being a student again

during the spring of 2014 i began life as a student again, part time anyway, and in the evening.  it's not a huge commitment but also not such an easy thing to do.  thankful for a supportive husband and understanding children.  somehow we make it all work.  i started taking courses at mount royal university in the interior decoration extension program.  they do have an interior design degree program and although i love the idea of doing that, i don't love the reality of doing that.  so, the extension certificate it is.

so far i've completed three courses, introduction to interior design, colour and light, and perspective drawing and i start soft finishings at the beginning of february.  when i registered for this course i also did a little planning in order to finish my program and get my certificate.  i still have four courses to go.  i'll take one a semester and should have it all done by this time next year.  then the next phase can start.  i'm looking forward to starting my next course.  not only do i like textiles, the course is being taught by an instructor i've had before and she's fantastic.

as i go through my courses i'll post updates about my projects.  in the meantime here's a look at some of the work i've done in my first three courses.


course one: introduction to interior design


this is my sometime

sometimes you need a kick in the pants if you want to pursue your dreams.  and that's exactly what i needed and got from my husband last year on my birthday.  for the last couple of years i've desired longed yearned for a change in my professional life.  like the kind of career change that requires becoming a part time student again and eventually creating my own company and working for myself.  but here's the thing: i've got a few things on the go right, like life.  we're a happy little family of five (husband and i, two mini people and a hamster) and we love to do family fun stuff.  things like camping and playing, skiing and swimming.  i've got a husband that i really like hanging out with and doing things with like scuba diving and going out for dinners we get to eat when they are hot. and i also have a full time career as a middle school teacher.

but i also have this passion for designing and creating beautiful family friendly interiors that can make a house into a home.  in my dream world i get to do this for my career in lieu of teaching.  not that i don't love teaching, my passion has just shifted.  my husband and i have built two homes (not literally) and enjoyed, for the most part, the entire process.  all the changes we made to our floor plans, lighting choices, vanities, sinks, paint colours, plumbing fixtures and furnishings excited and interested both of us.  particularly me.  i started looking at the items we put into our home more closely.  do they represent who we are as people?  as a family?  because really one's home should reflect who you are and how you live.  who and what is important to you.  be that comfortable place that brings you a sense of calm, security and, well, that sense of home.

now i'm no expert and until recently no training what-so-ever. (more on that later)  i don't feel that there are any rules when it comes "decorating" your home.  i use "decorating" because really isn't it just a fancy word for making that house you own or rent feel more like your space?  more like your home?  more like you?

so that's where this blog comes in.  i like to write, i have my fair share of journals and sketchbooks.  my hope is that design soup will be that little spot on the inter-web where i can write and share our journey of turning the house we had built into our home.  and although this blog isn't fully set up, there's no time like right now to get it started.


welcome to design soup.